Grid Bubble — Show and Hide Ends
English Revit 2027.3 demonstration. Verification: Top/Left setting applied; visible bubble-head result remains unverified in the current fixture.
Video
Narration: Google Gemini Charon, professional English. The video retains the full Revit screen, briefly zooms on named controls, and includes timed English subtitles. Transcript · SRT.
1. Open the grid bubble dialog
On BimSpeed dot G E N, open Grid slash Level and choose Grid Bubble. The four controls are Top, Bottom, Left and Right, all checked when this dialog first opens. Select the grids first to limit scope; otherwise the command can apply to visible grids in the active view.
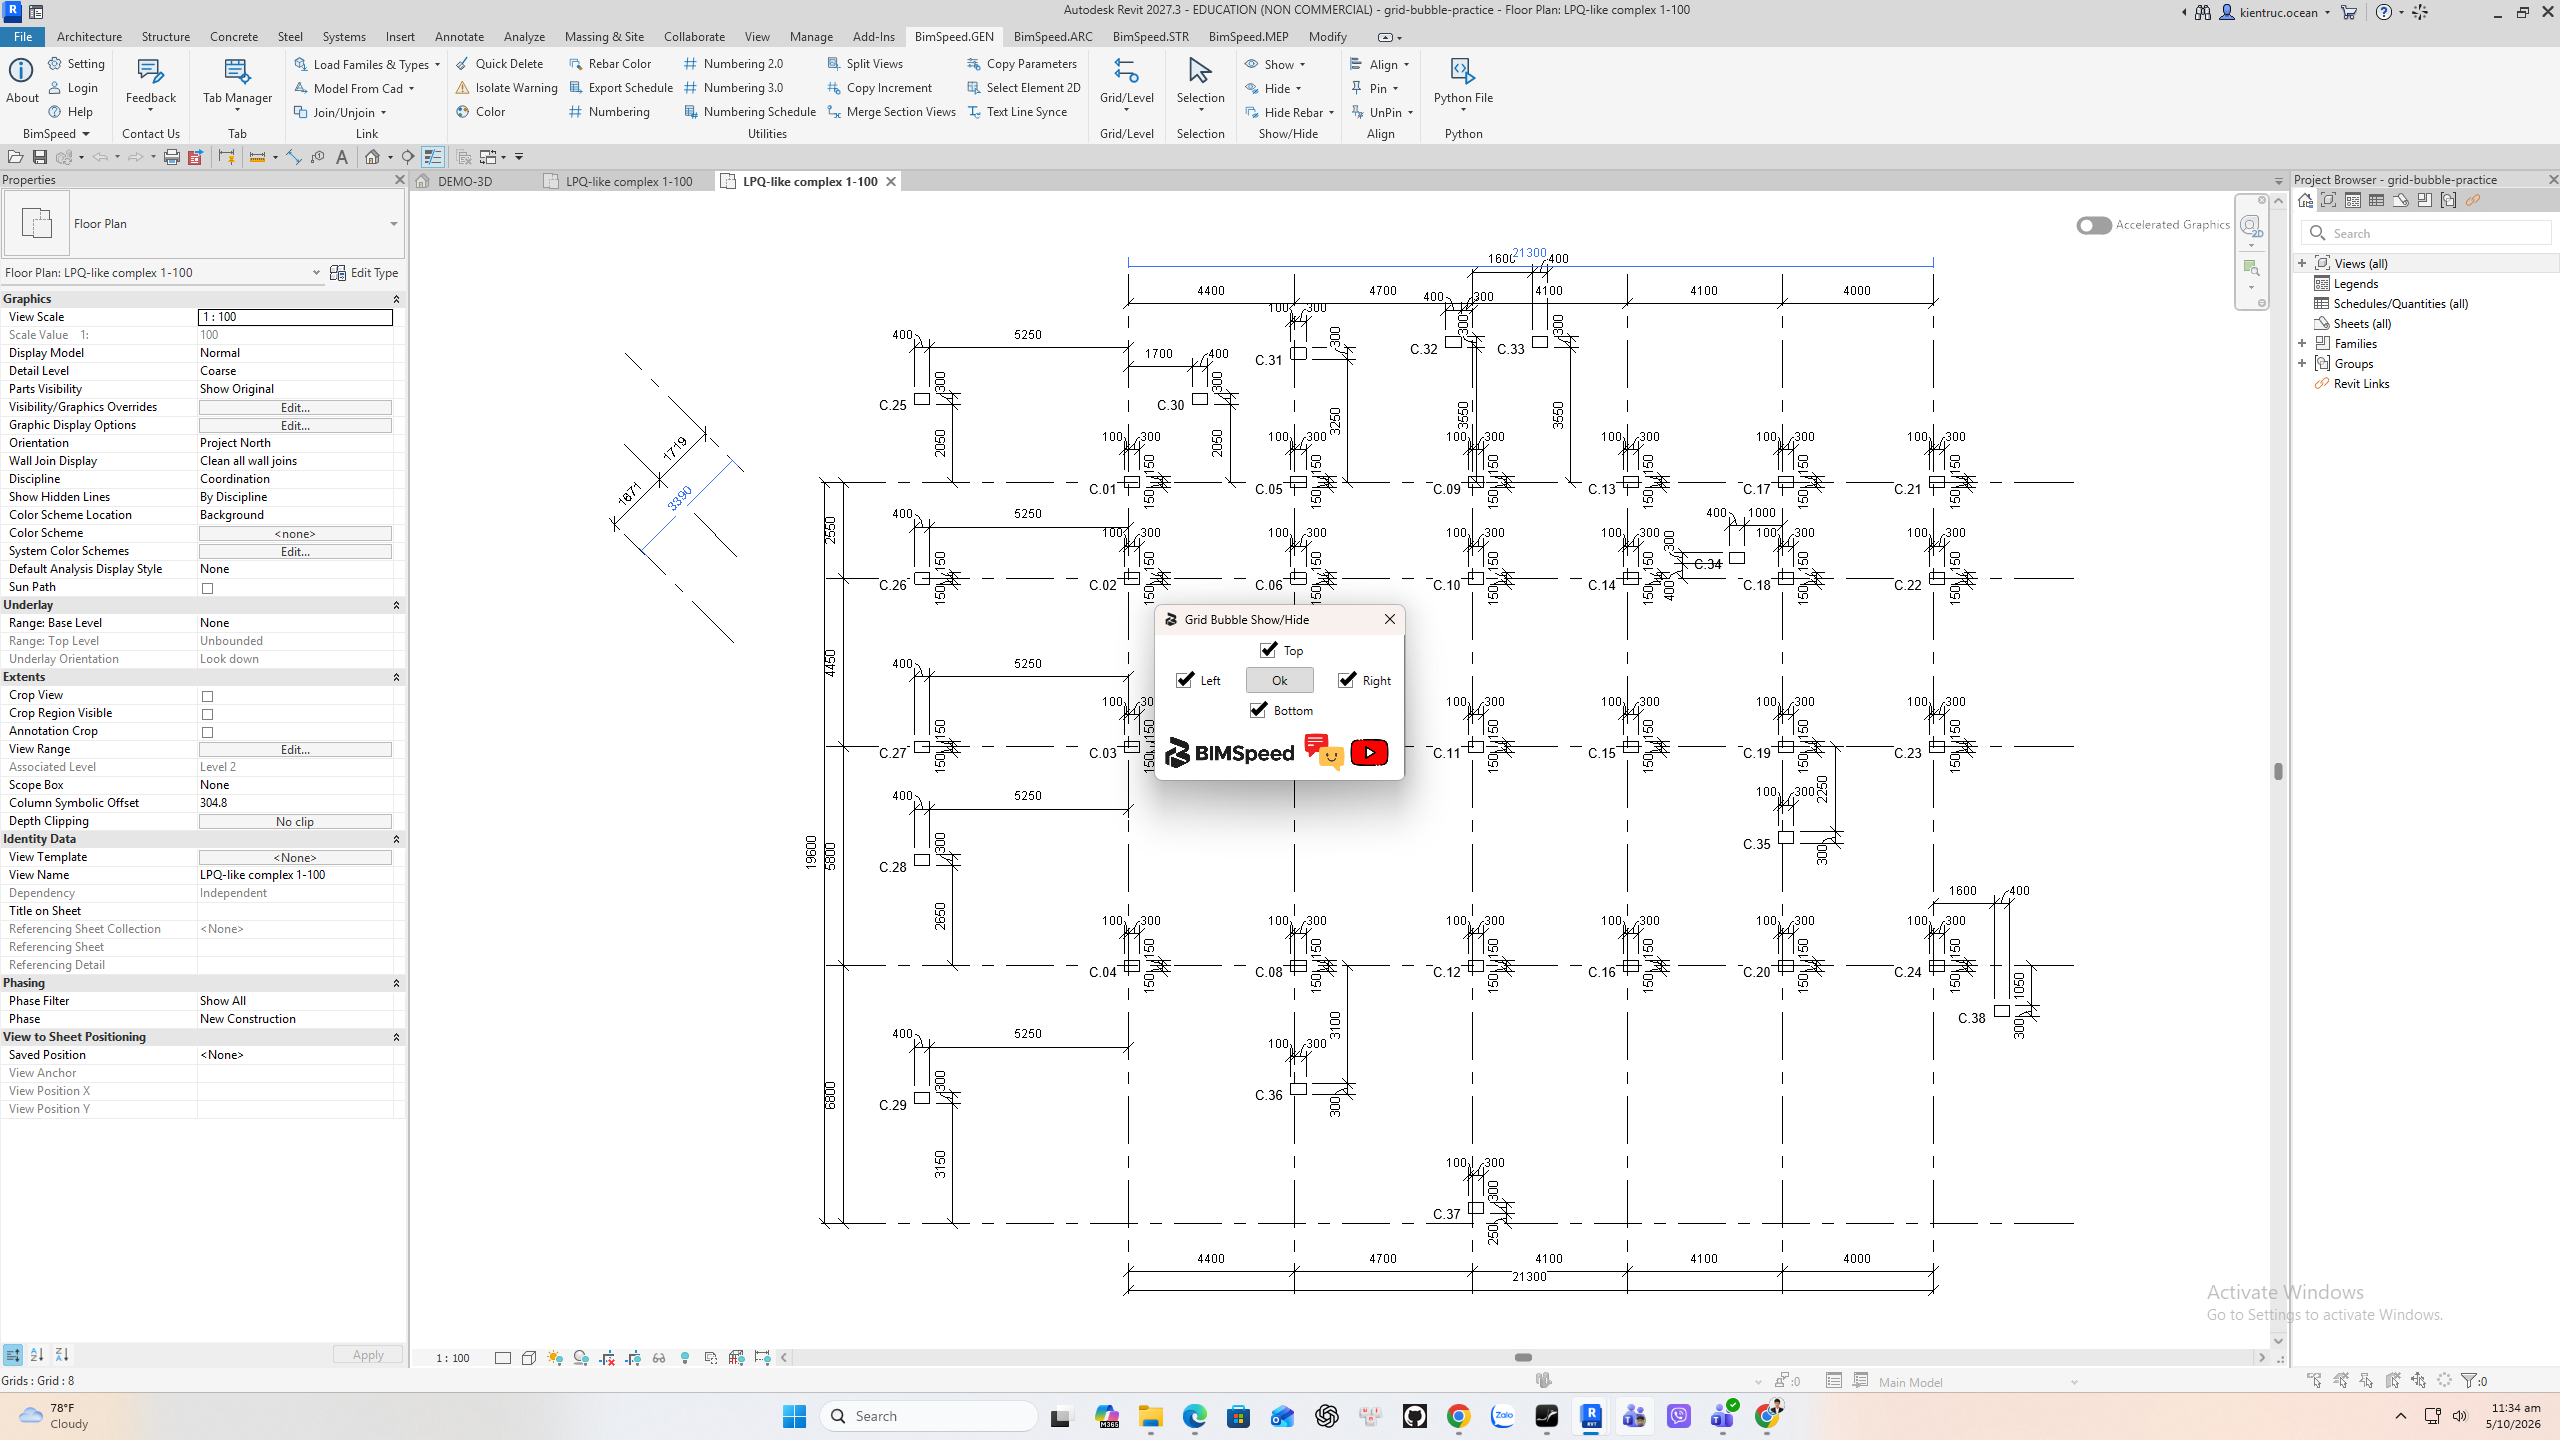
2. Set the sides to display
In this example keep Top and Left checked and clear Bottom and Right. Top and Bottom apply to vertical grids; Left and Right apply to horizontal grids. Click Run. The setting is view specific, so repeat in a different plan when that drawing needs another bubble arrangement.
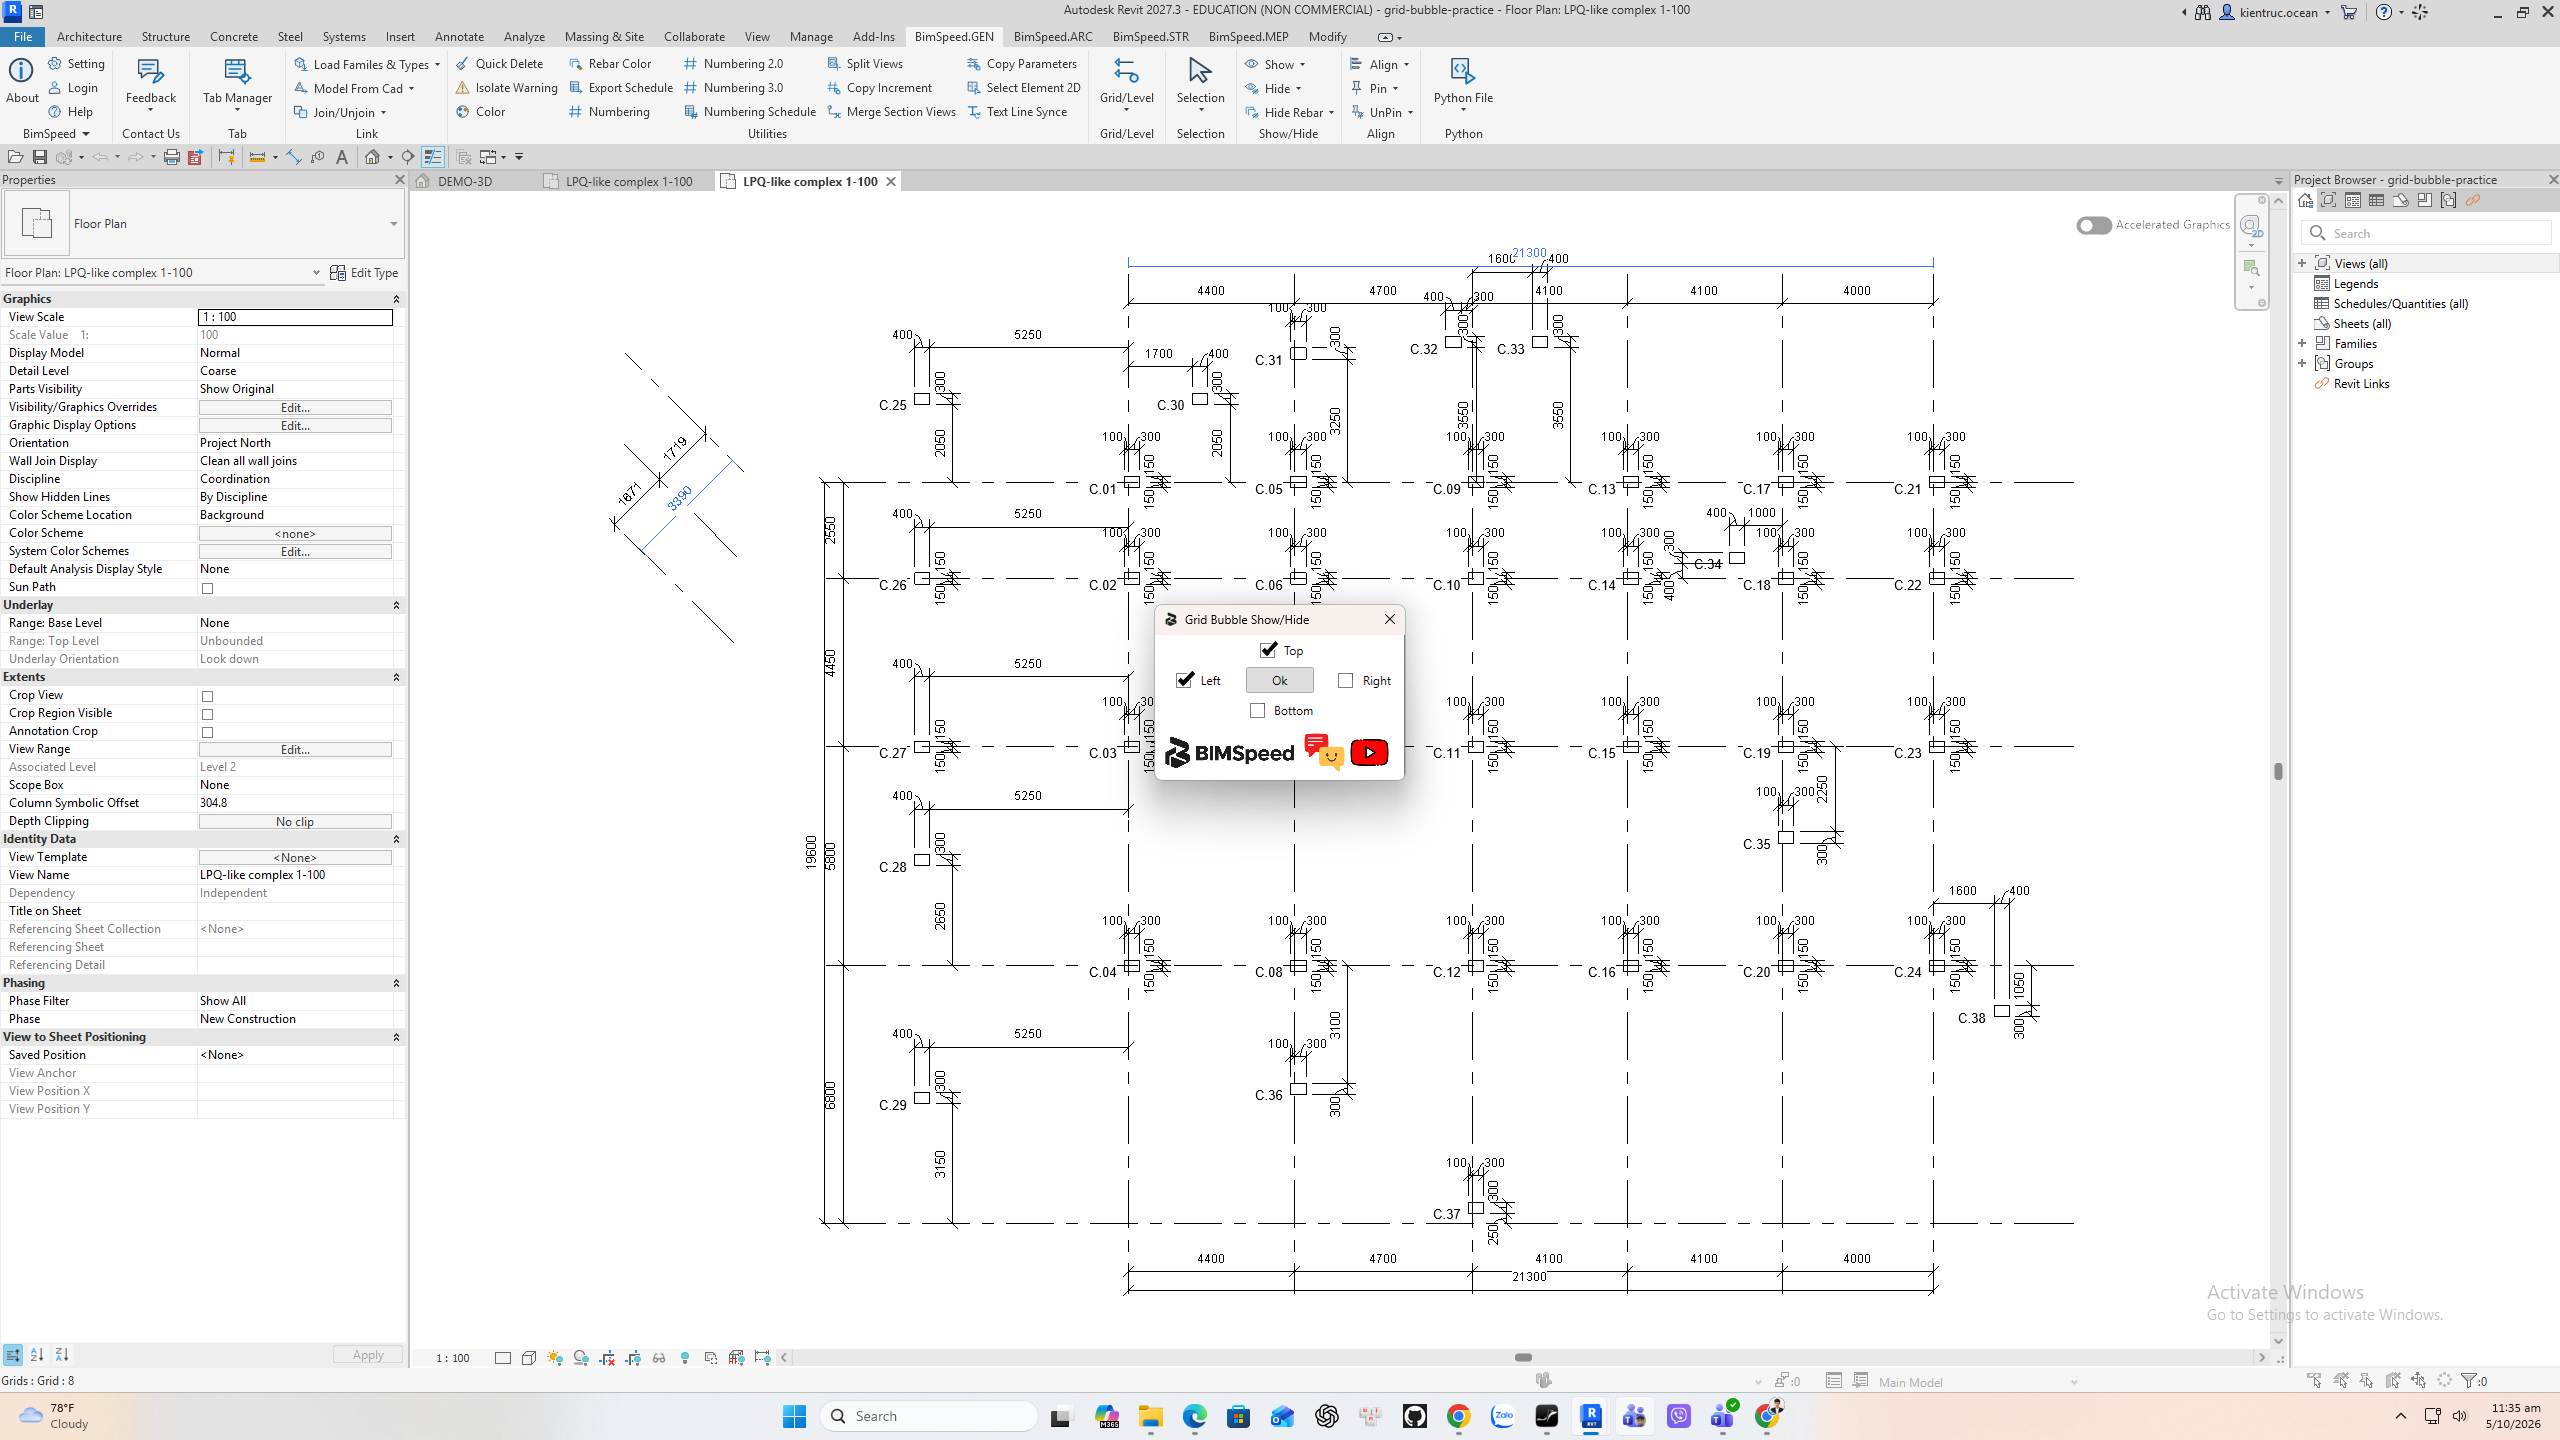
3. Inspect the grid ends
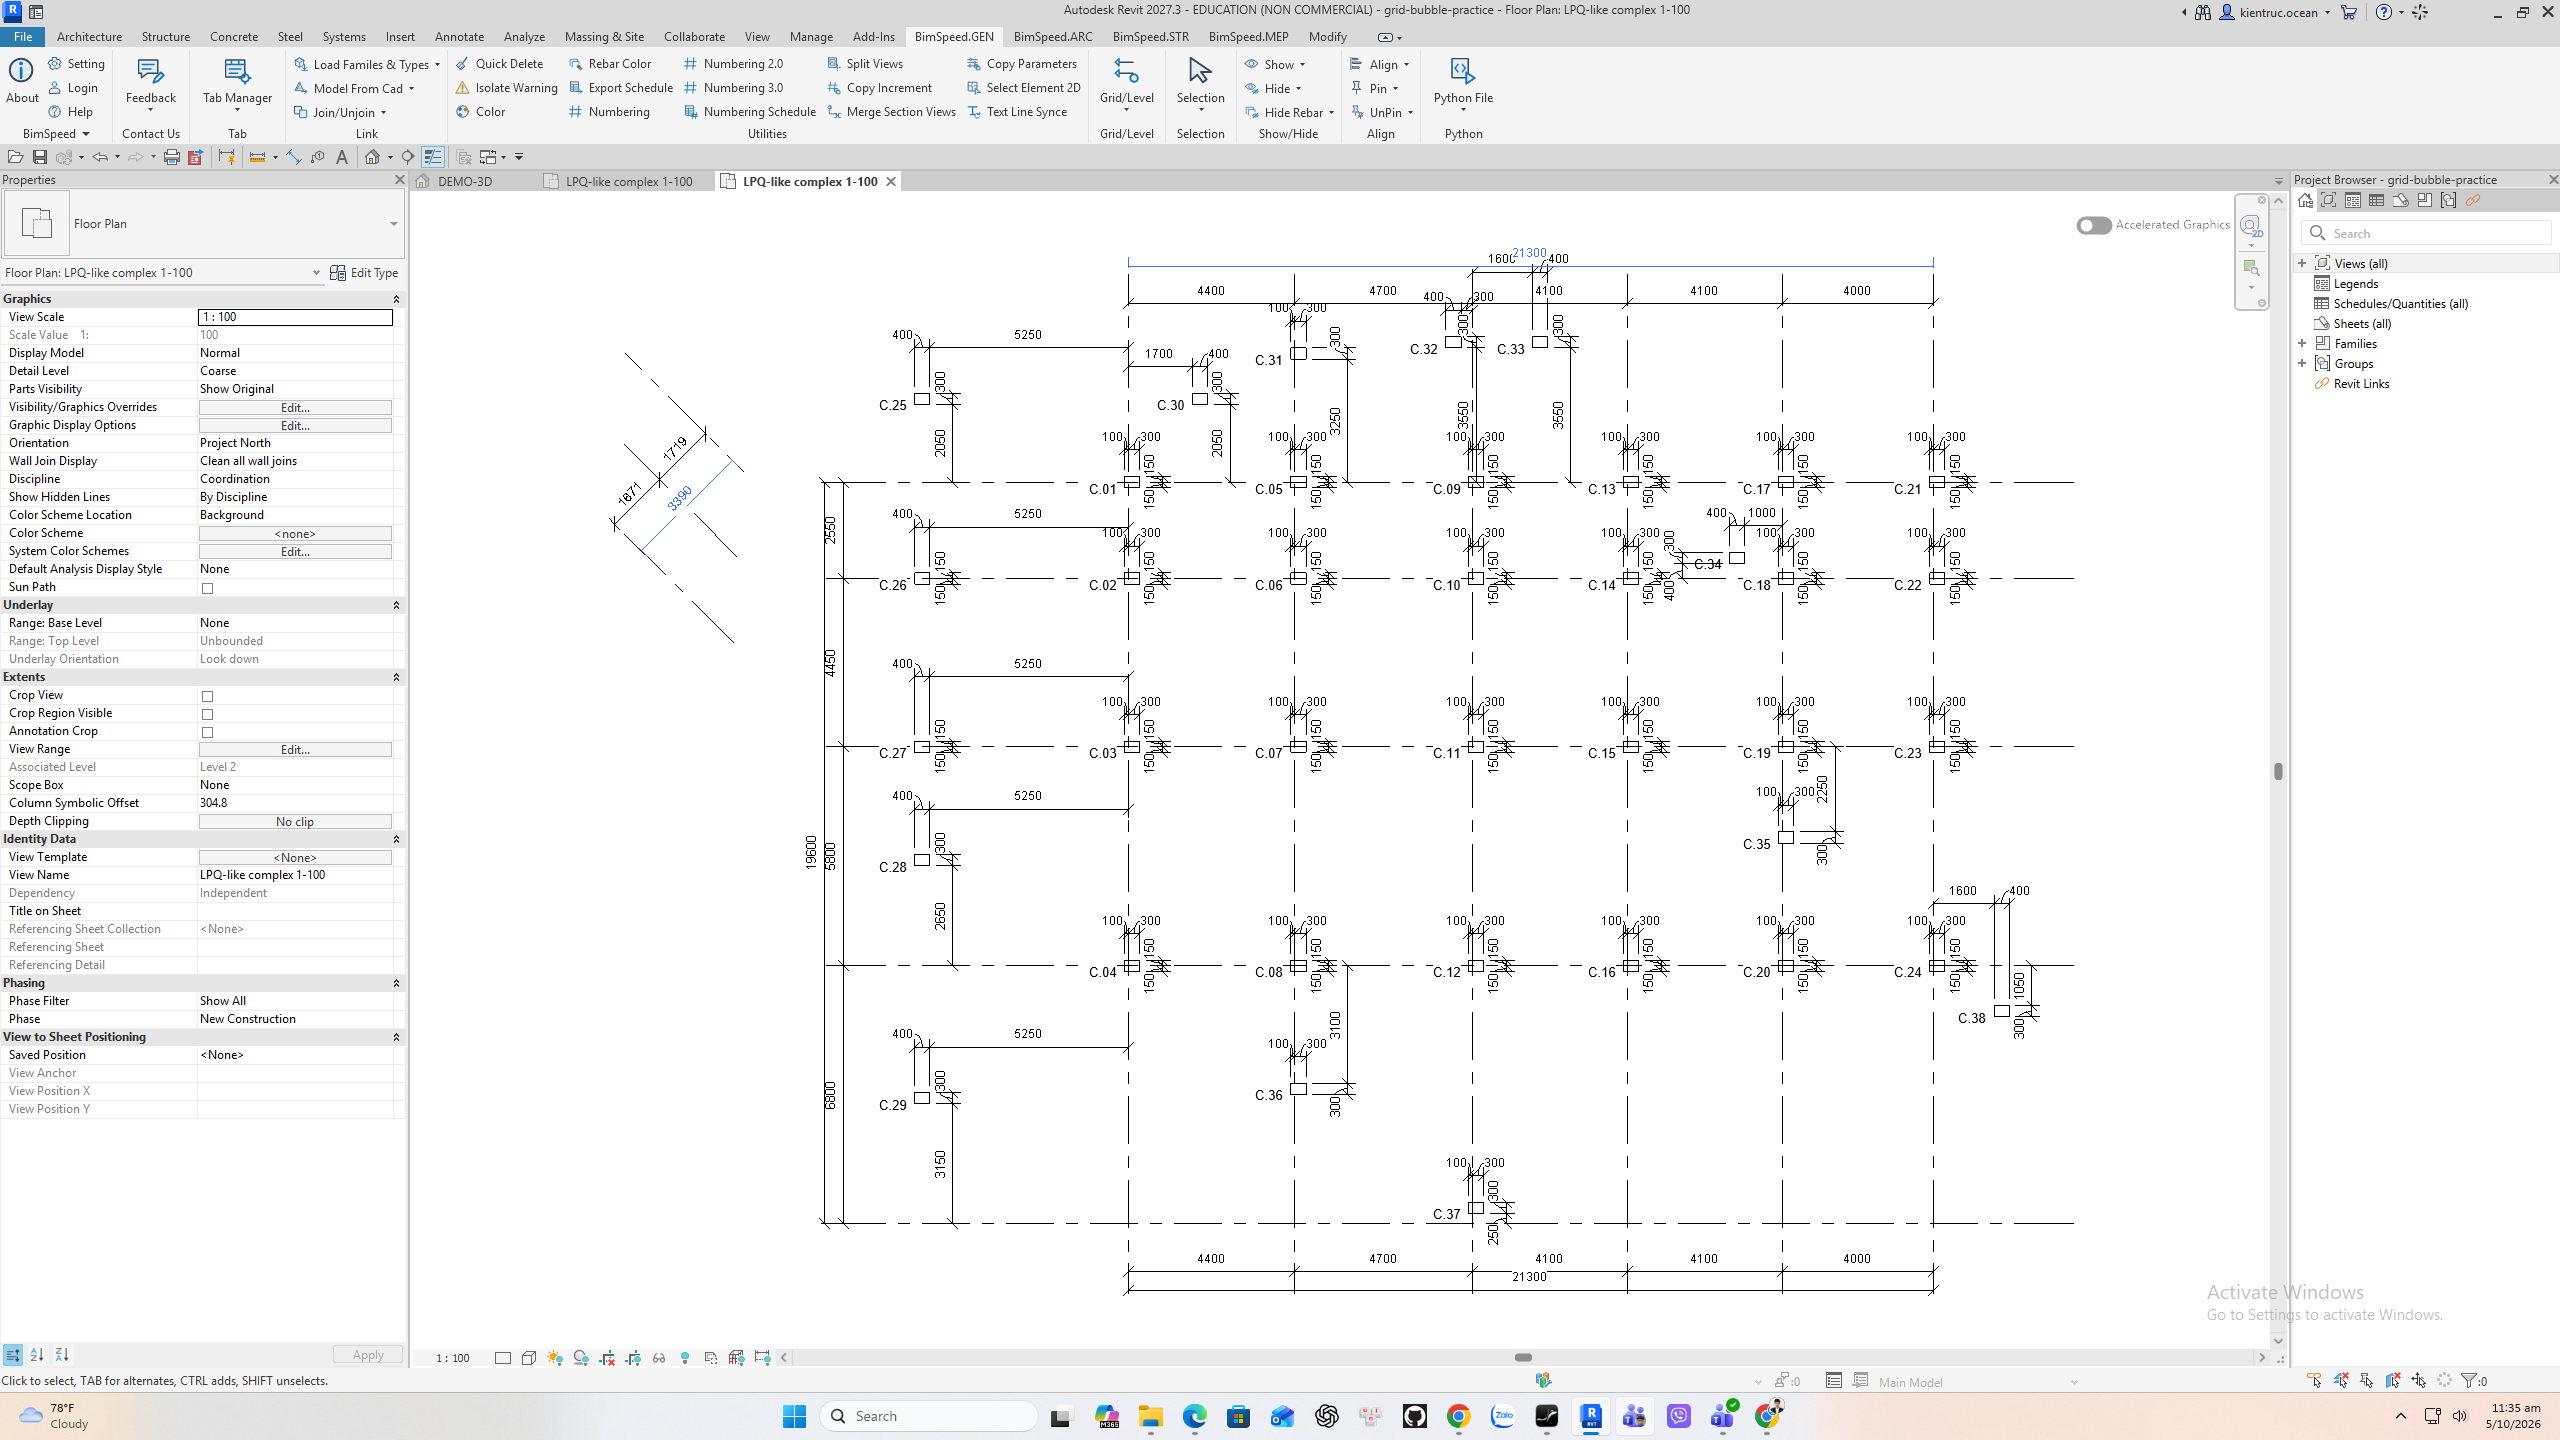
The captured plan has grid ends beyond the visible drawing area, so this image cannot prove that the bubble heads actually changed. Pan to the ends or adjust the extents to 2D and check the visible heads before delivering a sheet. The saved model retains the attempted setting.
Observed Revit 2024 dialog
The four checkboxes choose grid ends by side in the view; OK applies them. This capture establishes the controls, not visible bubble output. Zoom/pan to include both ends and their bubble names when verifying.

1. Top/Bottom and Left/Right. 2. OK applies the choices. End-state readback and visibly rendered bubble heads are separate checks.